Copyright (c) Marc Dacey/Dark Star Media 2006-2020. Above photo (c) Marc Dacey. Powered by Blogger.

2016-07-14

Getting the lead in, part 2

The repositioned fuel manifold. I will monitor the heat from the red, boxy March pump to see if I need to insulate it from the diesel lines.
Well, it's been some time since my last post, but I have not been lazing about in the summer heat. Quite the contrary: I have been getting the lead in by prepping the place where it will go. This has involved an array of modifications, such as the relocation of the fuel manifold from the side of the "under-stairs" to the saloon, to the building of an otherwise unobtainable battery box, to the shoring up of the floor to take the third of a tonne of batteries aboard, to quite a number of wiring decisions, crimpings and savings.

Access to this plumbing had to be maintained.
Above is the standpipe and the newly relocated fuel mainfold. This needs access from above, and I have decided to retain the existing first step of the new companionway to the saloon because it matches the new space I've devised and constructed.
The first box I bought. The second I had to build
First acquired was the hard-to-source (a couple of calls to a B.C.-based distributor were needed, as is often the case with the weirdo form factors I seem to require) L-16 four-battery box. This allows side-by-side storage of the batteries, meaning the customary roll of the boat both mixes the electrolyte more effectively and keeps less of the lead plates uncovered by it, assuming we keep the electrolyte levels at their proper volumes.


The four L-16 batteries' box. There's about one inch either side of it.
Critical to success so far has been "dryfitting" and plenty of measurement. The spare area in this spot is less than a sheet of letter paper, and measure twice, cut once is only the start of things.
I often have an audience aboard when I'm not grinding or drilling or exercising "sailor talk". This bird thinks I need a bigger rode bucket.
The second battery box, for two L-16s side-by-side, required lumbering around. I went with 3/8" inch which is confusingly labelled 11/16th, but as bigger is better in some respects, fair enough.

Mitre-cuts could have been better, but the workshop's bloody table saw was out-of-order.
The results, me being not a great carpenter, were rough, but strong. I fastened the plywood pieces together with brass screws (not that I plan on getting this box wet, but they were the right size) into pre-drilled holes.
Eh, not bad. The corners are plumb.
The dry fit here consisted of inverting the box and dropping like a slightly oversized hat onto two adjacent batteries. I've given some space to spare in case of battery swelling, but I also have a battery temperature monitor to cut charging should that be an issue. I won't equalize, ever, and court thermal runaway without a) plenty of ventilation in case of hydrogen production; b) plenty of "live monitoring" (no equalization voltages while underway, for instance); and c) careful attention to the proper voltage setpoints by confirmation not just from the system's intrinsic monitoring (either the charger or the MPPT output or the alternator's regulation, but via decent voltage metering.

Close, and a cigar.
Another dry fit involved both boxes plus a partition I would eventually cut down to the same height as the battery boxes.
Note to self: Do not do this again in a flat-roofed workshop in July. Thermal runaway detected.
Next came the hot work of glassing the box to strengthen it and to seal it...it's supposed to contain battery acid in a worst-case scenario, after all. I considered fastening quarter round at the corners (or exterior metal clamps), but I filleted out all the seams extensively with epoxy and fibreglass cloth and I don't think it was necessary, nor did I desire an overly snug fit for the batteries. 
Not pretty, but pretty thick. I later Multimastered off the more egregious bubbles and blemishes.
While all that set up (which took hardly any time at all and I had one pot of epoxy go all jelly on me), the inverter went in.
It's a Xantrex RS 2000 inverter/charger. It's no longer made; we bought this as is so often the case, well ahead of installation when it went on sale.
The inverter/charger is a 30 kilo beast and there's now six bolts in the head that I'll have to back with plates and then cover with a shallow plastic lid. But this was the logical spot in terms of weight, short (and expensive) runs of the required 4/0 ga. DC conduit and ease of access. We gave up two coat hooks.
Access from below isn't crazy; there's an accessory panel display that will be put at eyeball height.
Once again, the purchase of a proper crimper, stripper and other electrical wire work supplies is paying dividends. All this improvement to the boat's electrical systems is expensive but also will succeed predicated on proper installation, which is also a factor in the durability when faced with the harsh marine environment. 
AC IN 10/3 marine-grade, labelled, clear heat-shrunk and prior to putting in the strain relief.
I like to label because I literally get a better understanding for my underfamiliar tasks thereby.
AC IN and OUT installed with strain relief. The AC IN goes to a 30A breaker on the AC panel, and the OUT goes to a Blue Seas panel breaker that keeps SHORE and INVERTER well apart.
Shoving the inverter's AC wiring to one side, I did a dry fit of the Two-Box and the Four-Box to check my measurements.

I don't realize when it's getting dark enough to justify a flash because I'm a carrot-munching sailor.

I threw in the token partition between the battery area and the plumbing/fuel area. It's angled slightly to permit a seacock lever to be rotated fully.
I subsequently tidied up the glassed-up box, although it's never going to be seen except by the crew.
I also took the opportunity to shoot the camera in the midship bilges. These limber holes proved essential to fastening the threaded rod I'm using for battery box securing.
Very little rust, which pleases me as accessing this area for painting would require removing the floor.

I am not convinced this "previous owner" work is to code, but it looks secure.
Next, everything was removed and the area was drilled to take the threaded-rod for tie-downs. Basically the two ways to secure a battery box are with strapping, either of the webbing type over the battery box secured to padeyes or directly to the boat, or via lumber or angled metal drilled to take fender washers and nuts. I went with the latter because the boxes have very little room to move inside the "further" box of the stairs down to the saloon, and because I can further secure them by locking the stair steps that will allow access for maintenance and inspection.

The deliberately offset "sliders" for the dropboard-like partition.

The partition in place. All this does from a functional point of view is stop water from a cracked hose spraying into the battery compartment. It wouldn't really stop the battery boxes from shifting if we had a lurch strong enough to shear the threaded rods.
Drilling the rod holes involved feeling around to make sure I didn't hit something I'd regret. The threaded rod bottoms out on the heavy steel plate into which the keel tank inspection lids are bolted and serve an auxiliary support function to the wooden shoring I fastened beneath this floor a few days ago. Every bit helps, although this floor is secured to steel framing and even 750 pounds of lead is not going do much over this area.
The doubled threaded rod in place
The threaded rod has fender washers and nuts below and above the floor. When the batteries are all in and wired up, I will cut 1/2 inch white oak planking and secure the boxes with the same arrangement and cut to fit. Only then can I rebuild the saloon stairwell, which will project somewhat more into the saloon and will make the galley slightly more snug...but in a good cause. It's just going to make one step in and out of the galley an option.
Looka like it fits. The fibreglassed battery box will get its own lid later on.
The dry fit with the threaded rods confirmed my measurements. Tying the tops of those rods, which will be trimmed for height, together should make the boxes very secure. They'll have nowhere to go, really, even in a complete inversion, once the steps are in and locked. But let's not dwell on complete inversions.
Long-time readers will recognize that beam and chain fall from the engine installation.
As I had the gear to hand, instead of cleaning up, stowing the multiple tools I had out and calling it a hot, hyperextended and dirty afternoon, I decided to drop two of the six batteries that have spent a few weeks on my pilothouse deck into position. It worked surprisingly well, although I'll bring my son down tomorrow to work the fall as I position the last four L-16s in the "four-box".
Nice fit, buddy!
I was going to do this in two installments, but clearly, the project has grown to justify Getting the lead in, part 3: Powering Up. Watch this space!

2016-06-15

Under cover

After three bike trips out to Mississauga, the new mainsail cover is in full operation.
Those mast steps are looking brilliant. I had to use my teeth to tie that knot.
The sail itself is not flaked very well; one batten has flopped off the "stack" and is making the aft end hard to secure. Still, given that we are immobile until the horde of batteries are installed and secured, this will keep the UV exposure well down. 
The old cover fits the old main, which is relegated to "spare, light air" status. It's actually in good shape (the old main, not so much the cover, which needs some TLC) and will come with us.

Now is when the FTZ crimper will pay for itself.


During my leg-powered journeys, I picked up some 4/0 gauge tinned wire at Genco; it's actually not easy to source as it's overkill for most applications. Not, however, for my inverter/charger, which specs 4/0 gauge as the desired conduit for delicious amperage.

No luck on the dual "port-starboard" L-16 battery box. Well, there was a guy who would make it out of thermo-plastic for me...for $432. I figure epoxied plywood is a better idea, with the advantage the the aft "wall" of the dual battery box can also serve as the partition between the standpipe/fuel manifold area and the battery zone.


2016-05-31

Getting the lead in, part 1


I need specs to read these specs.
After extensive mulling over and research, and incentivized by a decent sale price ($400 Canadian and zero freight costs versus $341 U.S. and the shipping of lead was no debate), I've purchased the future house battery bank of the good ship Alchemy.
It's slightly weird to me that I understand all of this now.
Thanks to Jeff Cooper for his van and back muscles.
Meet 732 pounds (or 332 kilos) of acid-drenched lead. Named Crown 6CRP525s, these are deep-cycle six volt DC (6 VDC) batteries commonly found in off-grid solar powered homesteads and in recreational vehicles, although they are sturdy enough to use in golf carts and other small electrical work vehicles. I decided on flooded lead-acid batteries for ease of servicing; they will not be buried but rather in the middle of the boat. Under the saloon steps, in fact.
The idea was that a sudden stop would be arrested by the front seats. Hmm.

With the help of stalwart friend and fellow sailor Jeff Cooper, these ridiculously heavy boxes were obtained in the nearby suburb of Woodbridge and carefully (because the extra weight affected braking) transported to my yacht club. Of course, the rolling carts all had flats yesterday, and it was blazing hot. Nonetheless, with plenty of heave and a touch of ho, Jeff and myself muscled them aboard and into the pilothouse. They are deployed so that they are less likely to impart heel to the boat, nor move around should the weather start the boat to rocking.
Yes, as a temporary fix, I chopped down the engine bay lid.
I labelled the batteries 1 through 6 so that I can keep track of maintenance and trouble-shooting down the (sea) road. I also took an initial volt reading to discover the state of charge (SOC):


6VDC 525 #1: 6.21 v
6VDC 525 #2: 6.24 v
6VDC 525 #3: 6.32 v
6VDC 525 #4: 6.34 v
6VDC 525 #5: 6.23 v
6VDC 525 #6: 6.34 v


I was told by the battery salesman that three were on hand and the other three needed to be shipped in from the States. I think I know which is which. I will test the specific gravity of the electrolyte and top them up as needed before I give them their first charge, which I want to be sooner than later as we are effectively tied to the dock until I finish this phase of the refit.
Yeah, I won't miss that nasty carpet stuff. It's all heading for the bin at some point when I move onto "amenities".
Moving downward and upward, so to speak, I disassembled the saloon stairs after checking out the batteries. Pulling this apart revealed the (loose) access plate to the aft 50 gallon keel tank; the fuel manifold/stopcocks; the standpipe with its various seacocks to engine, head and A/C; the Clark pump that supplies the A/C; and the venerable West Marine 20 amp charger that keeps the sole Group 24 start battery charged when the engine isn't running. That last bit isn't a big deal, as only the VHF, the bilge pump and the fuel filter assembly are powered; we don't even have the running or steaming lights attached. Those connections await the installation of the house bank.
The same picture as above with my intended changes.
In the above overlay, the yellow dashed line represents the new bottom of the steps from the pilothouse to the saloon, under which the batteries will live. This location is both on the centerline and very close to the CG of the hull, which means the boat rolls and pitches more or less around the mass of the batteries. This is good for them and good for the boat and is about the best place we could put 732 pounds without actually dropping it a further few inches atop the fuel tanks. The yellow line does impinge slightly on the galley space, but the former lowest tread did as well, without contributing any stowage space.

The red line is 27 inches, or the width of the former treads. In my research, I learned something I have rarely seen implemented, which is securing the batteries in "port and starboard" orientation in order to keep the lead plates covered more effectively in order to increase battery life. It's a touch of an esoteric topic for those not boat-crazed, but the logic is sound: the best way to install the batteries is side-by-side in pairs. Guess what? I can get away with this. With 11/16ths of an inch to spare.
Sharp, it isn't. Effective, I can live with.
The idea would be to have the four L16 batteries' box to be on the bottom, directly on the floor (which I would remove and reinforce to take the added mass), with a higher "tier" of two L-16s in either two single-battery boxes or a made-by-me box. The "upper tier" would be lashed to a steel "L-bar" riser, bolted to the hull, while the lower four would be strapped down with through-bolted padeyes. Nice! 
Yes, and of course I will clean everything.
Certain obvious changes will be required: a) I will have to remove the existing charger and relocate the fuel manifold, probably to the aft bulkhead in the above photo, to create the necessary width for the upper tier; b) I will have to create a partition between the upper tier (see the green dashed line two photos up) and the standpipe that allows full access to this area; c) I will have to consider access to the aft tank's plumbing problematic, as it would involve. at the very least, the removal of the top tier of batteries. Of course, that's an incentive to make this tank's plumbing bulletproof!

Lastly, over all this, I will have to rebuild and secure properly new and somewhat shallower saloon companionway stairs, the treads of which will need to be hinged to gain access to the tops of the battery bank for service and wiring needs. Where the charger/inverter will go is a topic for the near future.
The future resembles this. Photo (c) http://www.kbtechworks.com


2016-05-30

Trial by sail

In very weak wind, the "new sail creases" still show.
One thing a boat refitting blog tends not to emphasize is actual sailing of the boat. This is a pity, of course, because that's the point of all the learning and labour. Anyway, we had been asked by our splendid neighbours, the Dulmages, for "a boat ride" before they move to Vancouver shortly.

Well, of course. We'd love it.

First, however, we needed a sea trial of the new main. Before the actual day of Having Guests Aboard, we went out in frankly miserable wind of perhaps five knots, all the better to diagnose and repair our line reeving and our sadly decayed sailing skills.

After only a few embarrassing if trivial incidents, more involving the role of heavy fenders in trapping sheets and furling lines, we declared the boat Fit for Minor Sailing. Minor because there's still loads of gear, tools and mysterious fluids only semi-secured and the head is filled with painting supplies and the beer is warm off dock power, as neither an inverter nor a 12 VDC power socket is installed. They're aboard, but not installed.
Cabin Boy in a rare moment of unmoody teenager.
Frankly miserable went up a Beaufort scale to mediocre, fitfully from the ESE, so out we went. We we reminded of a few things, such as a) the hydraulic steering quite unlike the tiller of dear old Valiente (still unsold, make an offer), both in terms of reaction time (hydraulic is slow and I feel as if I'm oversteering) and feel (hydraulic has none). Still, when Alchemy's steering is "dialled in" and we are on a beam reach or slightly aft, the boat pretty well self-steers, which bodes well for the bypass plus windvane proposition.

That's more like it.
I left the sail rather flat as I didn't want to develop speed and spilling the main would get us standing up quicker if I started to hear items shifting overmuch down below. Even so, the boat's undeniably as lightly loaded as a steel behemoth can be, and we did heel a bit. It felt good, actually, even if it was at best five knots in 11 knots true.
Haven't decided whether I should take the topping lift off entirely when sailing.
Anyway, a hot day on shore was cool gliding over the still chilly Lake Ontario, and one of the kids needed a blanket to keep warm. Luckily, we've had that sort of thing aboard for ages, given that sometimes I'm reading a manual in the dead of winter and a tiny heating fan does very little.
Sometimes shots like this remind me we sail a fairly big boat. Well, big to me.
Of course, some errors were made. We are still getting used to the fact that Alchemy needs to make a far more assertive tack, and, once tacked, needs to be helmed equally assertively, lest the Yankee jib backwind and you have to start all over again. While typical and in fact expected, it's different from an IOR design where the tacks are as little as 65-75 degrees. Nothing broke or complained, however, just a slight bit of sailorly muttering. There were children present, after all.
Mrs. Alchemy at the helm. Maybe I'll restore the tiller for her birthday in three weeks.
 All in all, a pretty nice sail...we were out nearly four hours, even in the light air. Helming from "below", however, at the pilothouse helm, with well-meaning if view-obscuring crew on the coach house, made me think that I want to get that second throttle/shifter at the outside helm....where I can see. The pilothouse is great for reading dials and playing with the radio, but I could use a better field of view. And dudes in dinghies should not sail out when I'm coming through the gap in the sea wall, please. It's nerve-wracking to see a headboard on a triangle of Kevlar going by at pipe-rail height, really closely.
Not pollution, but mist from the warm air over the cold lake.

2016-05-18

When you want a little roach aboard


Triple-stitched, reinforced both hither and yon, and a very deep second reef.
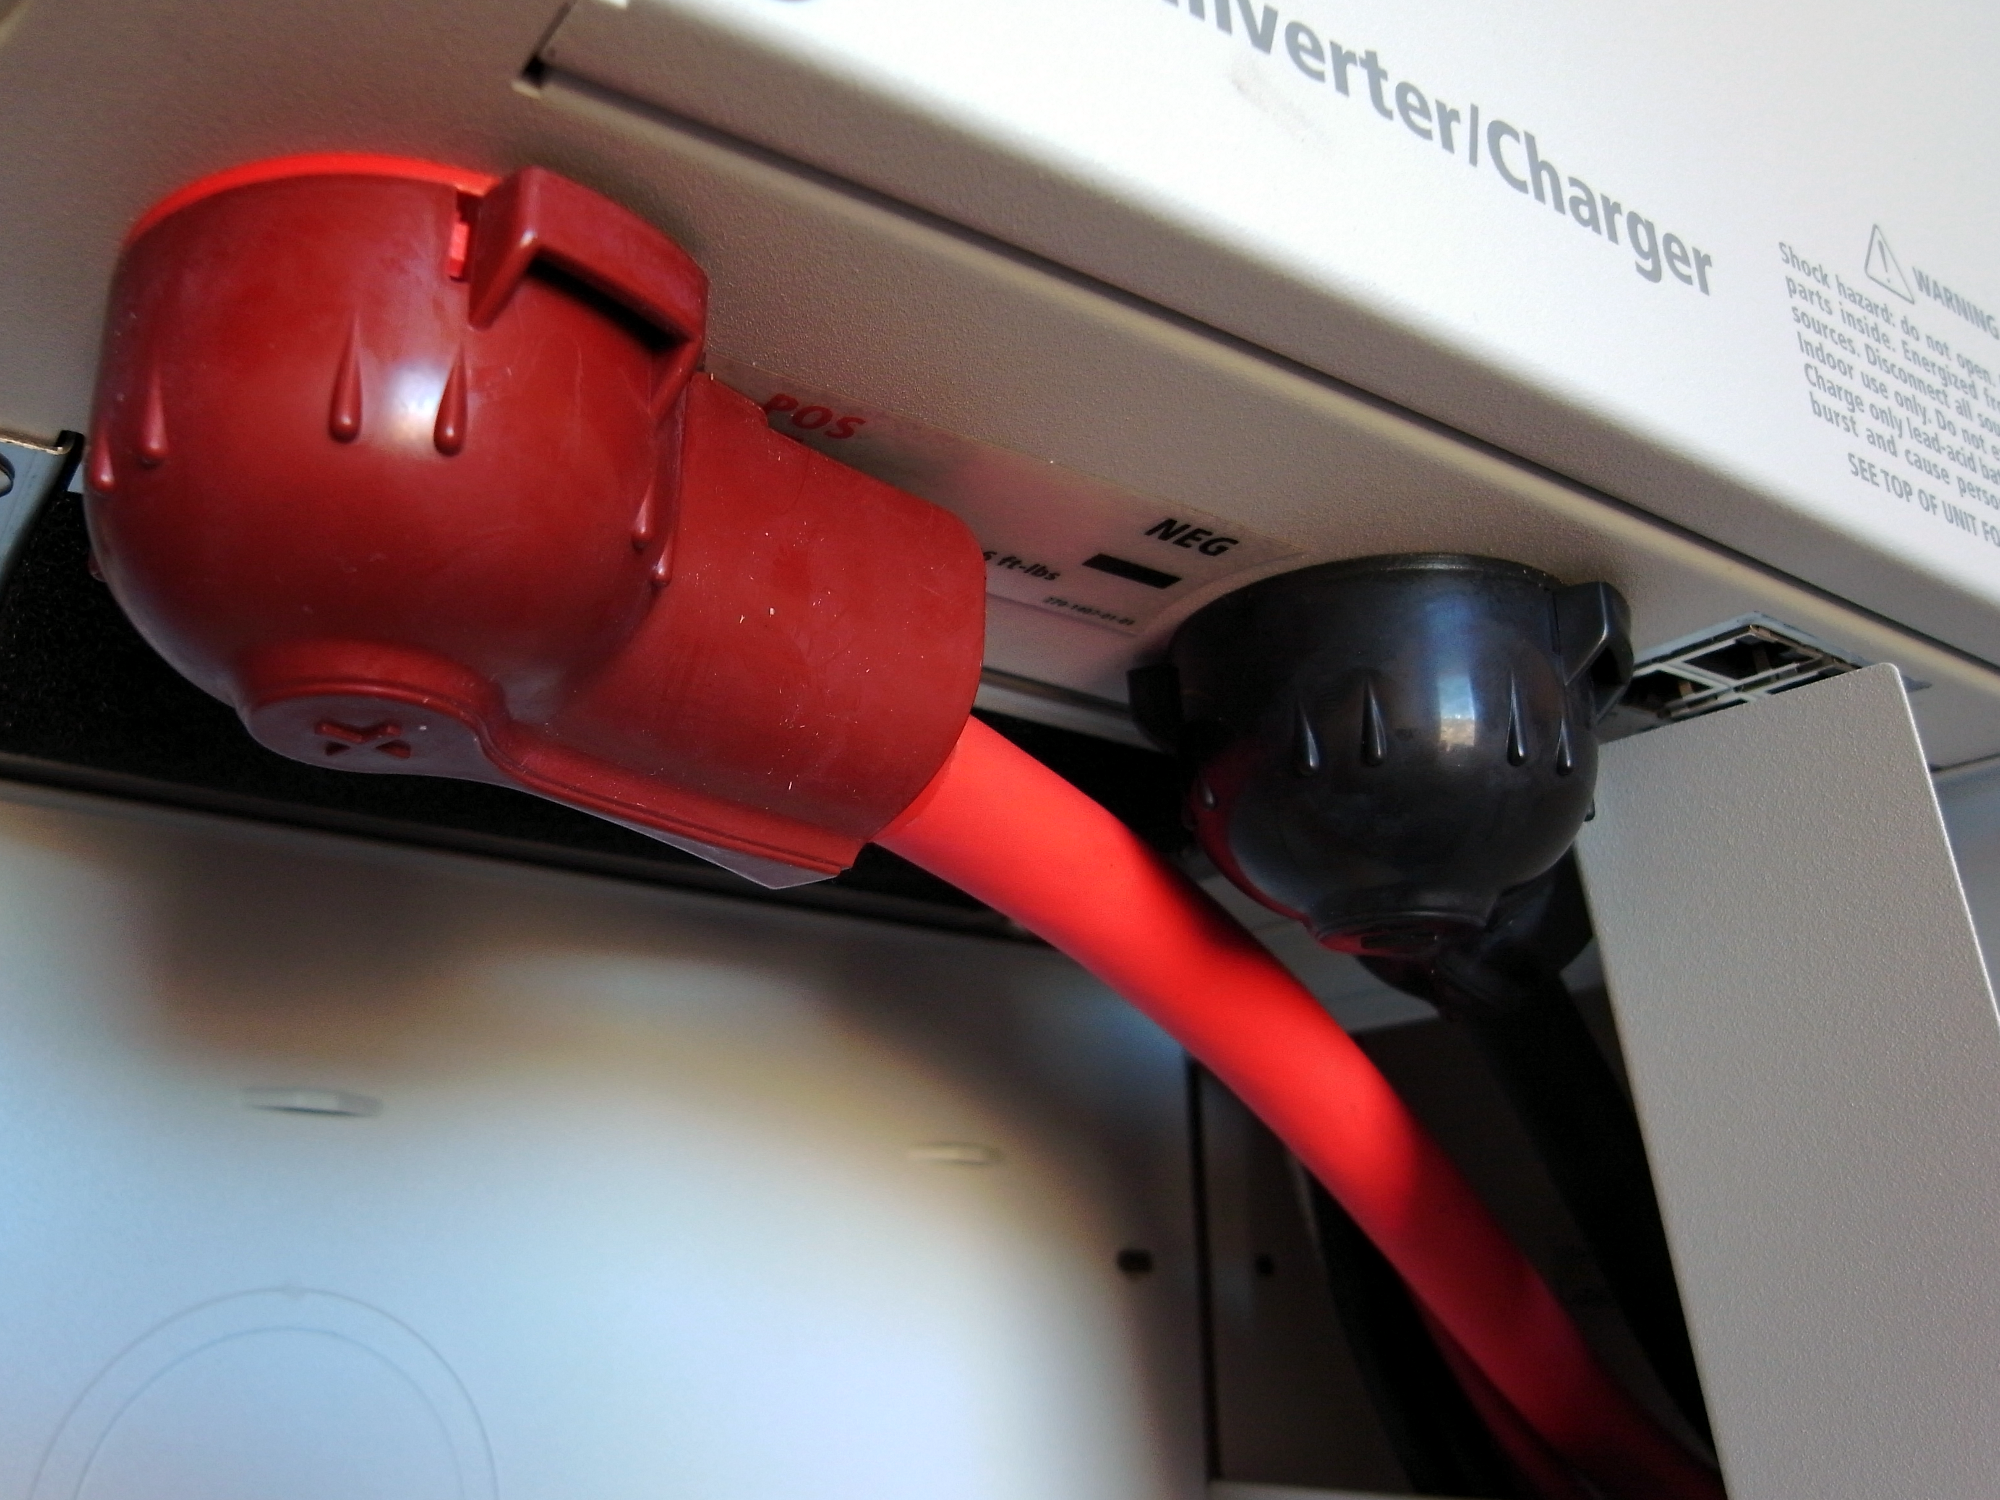
The commissioning process continues: Behold Alchemy's new main, which I hope will drive our boat in all weathers. Today was not as light air as forecast, but light enough to put on the yankee jib (the poor furling was eventually fixed), the staysail and the main. Mrs. Alchemy was a huge help, despite the fact that we really need to record the working configuration of all control lines, blocks, beckets and shackles, because we screwed up a few things even a sketch would have avoided. 
The numbers are only close, not exact, because my "trapezoids" do not have parallel bases.

A note on our logic in going with just two mainsail reefs

Some have questioned our decision just to go with two deep reefs rather than the customary three (or even four). Part of our decision relates to weight aloft, a desire to keep the reefing gear simple, and the simple acknowledgement that our SA/D calculation is "heavy goddamned undercanvased motorsail" (it's about 12.5, if anyone is keeping score); and that we carry full sail longer than many other boats (all things being both equal and tied down properly); and that if we do need reefing, it's going to be a significant sail reduction, which can be considered a "gear shift" of sorts.

The boat as built differs slightly; the pilothouse is longer, for one thing.

The photo above is a reproduction of the original designer's intent and sail plan. The actual boat as built is somewhat, but not significantly, different. We have no storm trysail at the moment, but we do have a storm staysail. Our idea is that the second reef is deep enough to take us to 50 knots of true wind speed, above which point we are in heave-to, bare poles plus storm staysail, or put out a drogue territory. The choice of heaving to versus running off is situational, of course, and there's strong cases for both in variable circumstances. Preparation, however, is key, and that includes the crew with the correct clothing, adequate rest, the proper safety gear and the proper preparation of the boat in terms of lashings and stowage. I've been in some heavy weather when gear has come loose, and it's no joke to be the person who keeps a flogging solar panel from going into the Atlantic.

Alchemy, being a heavy displacement full-keeler, is intrinsically sea-kindly in a blow (bar bad stowage or bad seamanship) but if we have enough information about the "storm track" of whatever storm track the gale we happen to be in, and land isn't nearby, running off is also a sound tactic.

The photo the new main with the numbers represents a rough (because my sail areas are off a bit, due to non-parallel bases of the trapezoids comprising the sail area reductions of each reef) estimate of how much sail area reduction, and thus sail power applied, there is to each reef. The actual first reef sail reduction is about 35% and the second reef is about 67% of the total main area, which are ratios I devised with the sailmaker as matching our goals. I estimate is about 305 square feet for the old main and about 330 square feet for the new one picture. It's not hard to factor in the sail gained by the extra roach and fractionally higher hoist and foot dimensions of the new main, but it's not strictly necessary to calculate, either; this main is heavier, but bigger: performance in light air should be a wash, whereas it has been built to withstand higher true wind speeds better. As experienced passagemakers Beth Leonard and Evans Starzinger note, the amount of time spent in truly windy weather can be quite low, and the tools to avoid it at sea have improved greatly in the last 25 years.

I'm not sure if I've mentioned it before, but the current sail inventory consists of
  • light air main (spare; stowed)
  • heavy air main (on the main)
  • Yankee top jib (rigged on the forestay furler)
  • light air genoa (spare, stowed)
  • Cruising assymmetrical chute (stowed)
  • Staysail (bagged, hanked on)
  • Storm staysail (stowed, hank on) 
If some deficiences in the sail inventory are noted, we will remedy them. Frankly, we need more real-world operation to determine that.
 
Vang always sounded villainous to me.
Prior to the initial Big Hoist, however, came some prep and untangling and sorting of the many halyards and lifts descending from the mast. Shrouds were further tightened, cotter pins and rings were pocketed, as we the usual tools. Oh, yeah, and I had to put the boom on. Some innovations this season include a triple-block vang and some upgrades in the shackle department, thanks to a providential Craigslist score some time back.
Wichard gear: Choose it even for unconvential uses.
Being a largely self-taught sailor, save for those RYA adventures, I have been known to use boat gear in non-standard ways. I needed a way to fix the topping lift to the boom. The conventional way, I'm guessing, would be to add a second bail to the one below the boom leading to the mainsheet. I like the idea of the topping lift being quickly detachable, and I had a Wichard tether shackle in my Box o' Parts, and so here we are. Given that the topping lift line is 6 mm Dyneema core and the shackle can bear two tonnes of weight, I have no doubt lifting COBs and, more mundanely, general cargo and tenders aboard with this setup will be straightforward with some sort of preventer or similar belaying line to control swing. I think I should, however, get a compression tube over that through-bolt prior to any such antics. 

The staysail in the anchor well. We generally leave it rigged and ready to go in its bag, like a spinnaker.
We were pleased with the tabernacle steps. They enabled me to stand comfortably to secure shackles to the main's headboard and, later, to bungee halyards to keep them from slapping: this action makes you friends on the docks. We've determined that a third, "mini" step on the starboard side of the tabernacle will allow Mrs. Alchemy, who is somewhat vertically challenged, to reach the top of the mainsail cover in order to tie it off and zip it. There's also some talk of a belt arrangement to free up both hands while four feet off the hard, metal deck.

Battenless, a sail's more like a tarpaulin. A four-grand tarpaulin.
The Tides Marine track, plus the batten slides and SS slugs, worked very well on the initial, battenless hoist. We wanted to check the dimensions before doing that somewhat tricky operation (the wind had picked up). We were gratified to see that the hoist height was just about perfect and that the new main made use of some space previously filled by air at its trailing edge with roach. As mentioned previously, this is an attempt to get just a little more sail area in play to drive us in lighter air a little more effectively. We will test that theory this summer, which is evidently going to be stormy.
More or less flattened, and the roach favours the lower portion of the main for drive.
Battens in and fully hoisted.
The two reefs are unrigged for the moment, as I want to ponder the best lines for the job. I also need to get a tack hook and other bits and pieces, although much of this can be improvised with light lines.

Battens battered in.
The new main is old school. There's really nothing on its nine-ounce Dacron surface that wouldn't have been (save for the "system" of the slippery external track) on a cruising main 25 years ago. We chose that because we need to be able to do our own repairs and because we are realistic about the go-fast potential of Alchemy: There isn't any. We need a strong sail to keep hoisted to capture the wind to make us go; with many boats, the sails are very light, very strong and very expensive. Ours is a different path in which some compromises in the absolutely most appropriate material (some sort of rugged and four times the price composite material, I'm guessing) is not selected in favour of ease of owner repair, durability of known quantities, and the very good fact that this is not a go-fast boat and never will be. It's an "arrive alive" boat. This is the sort of sail we want for that goal.
These sewn-in fabric bands spread out the shearing forces on the sail's corners; in this case, the clew.
 I was pleased with what I saw today and we are pretty sure the fit is close to exact out of the (literal) bag. Of course, looks aren't everything: a few challenging sails will tell us this vital piece of equipment's true value.
The old mainsail cover simply won't do.
It didn't take look, however, to confirm what we and our sailmaker had already anticipated: the heavier sail material and the stacking slugs of the Tides Marine system make for a physically larger pile on the boom top. We'll need a new sail cover, and soon. This needs to last us for many years and thousands of miles.
And this is why: the old one has been outgrown.