One of the more minor, if finicky, job has been the removal of the fixed (Lexan) portlights in the pilot house and their replacement with portlights capable of opening.
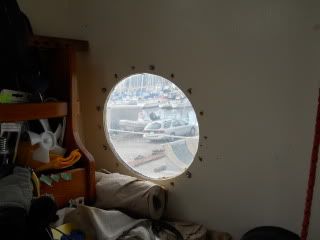
The pilothouse is the nerve center of Alchemy and is where the crew will be spending a lot of time, either in staying out of heavy weather, taking a break from the sun, or making use of the navigational instruments, course plotting, radios or other gear. While there's a separate helm on deck (and when the new engine goes in, a second set of engine controls), the pilothouse is where the nominal "driver's seat" is, and yet it's like sitting in a steel and plastic greenhouse. Rigid insulation will lessen the heat transferred via a big flat aluminum roof, but the two rooftop hatches (about 7 x 12 inches) and the single opening forward window simply aren't enough to keep the air moving. At the same time, the wind or weather might argue against having the companionway hatch open. So a semi-sheltered way to get air through the boat was as much a necessity as a choice.
This is the "dry-fit" result:
"Dry fit" in this context means that all the pieces are bolted together tightly to conform to their permanent positions. Absent, however, are the final priming and painting of the metal made bare via drill bits, angle grinder (grinders, really, as I wore one out) and Dremel. Also missing is the butyl tape and bedding/caulking necessary to make all this as waterproof as possible, considering that at some point a few tonnes of seawater could whack it with intent.
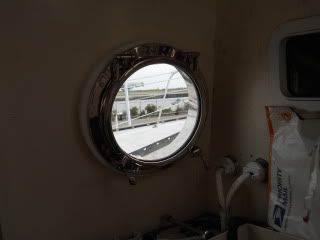
 If it looks nice (this is the view from the side deck, thank the firm New Found Metals. I had heard through the cruiser/boat repairer grapevine that this American firm did semi-custom castings and had a bevy of stock parts with the reputation for simplicity, accuracy and sturdiness that an ocean traveller seeks. After a chat with the firm's president at the Toronto Boat Show, I learned these portlights weren't, as these things go, particularly expensive.
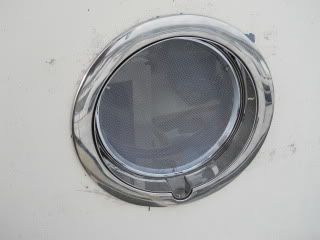
Here's the SS screen installed. Bugs, I snort at your feeble attempts at ingress!
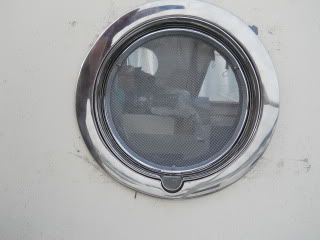
 I won't go into the tedious details of making a circle X inches across X plus 3/4 of an inch bigger, except to note that I should really invest in ear protection and stop wearing sandals when I'm turning steel into splinters. That white surrounding 1 1/2" ring is HDPE plastic, a necessary "spacer" to make the "spigot" more or less flush with the "trim ring". My god, this blog is educational, I should provide diagrams. A fibreglass boat will tend to have thicker sides; my pilothouse's sides are by contrast, about an eighth of a inch (3 mm) thick. The "yachtie" turn would be to carve up a small section of teak trunk, and to use a coping saw to make a wonderfully boaty teak Life Saver. Well, apart from the fact that a chunk of teak that width and thickness (13 x 1.5 inches) would be more expensive and certainly more ecologically heinous than the portlights themselves, I just don't like wood much on steel boats. Odds are good that all this will be buried behind insulation anyway, and HDPE is cheaper and more rot-resistant than wood, and besides, we are talking about what is chiefly a great big plastic washer.
Perpendicular view, now with transparency!
 Anyway, I've learned some shortcuts, and, just in time for winter, I can now have fresh air even when it's pissing down outside.


