 |
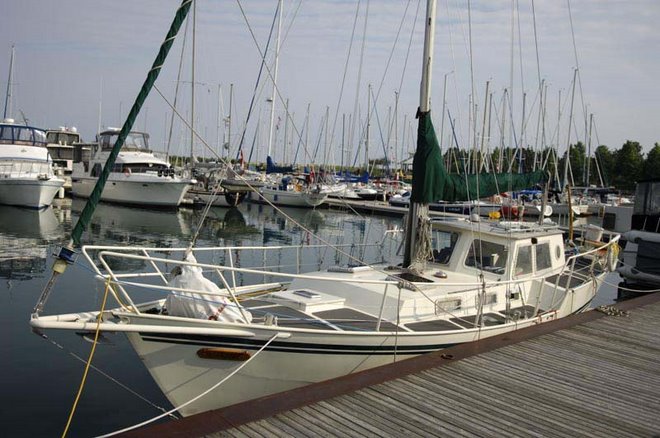
| Note the Swamp Thing hatchery in evidence. |
Between work of the paying sort (both Mrs
Alchemy and myself are hard pressed this month, which has already taken the edge off winter storage fees) and the algae attack in the basin of my boat club, it's been hard to consider pushing off for more sea retrials. But that doesn't mean the game's not afoot.
Behold Tony Johnson. He's a welder/fabricator, a marine engine mechanic, some variety of general contractor, and a professional diver. Truly, a hand for all seasons. He's taking on the task of turning my much-modified idea for an engine bay hatch and turning it into reality.
 |
| The Metal Supermarket-acquiried plate fits nicely, but needs building up in the form of HDPE frame-up to get it flush (minus the thickness of its eventual LONSEAL covering) with the rest of the pilothouse decking. |
Behind Tony is the plate I bought myself to make the "fixed" part of the design below, which will only need to be unbolted should the engine or tanks require moving. Another advantage is that the fixed plate will make an excellent spot on which to mount some engine bay general lighting. Not all engine access issues happen in full daylight, after all.
 |
| Evidently, I lowballed the measurements by about 1/8th of an inch, because I didn't realize the lid could be made as snug as Tony will build it...which is good. |
While Tony will make up the metre-long aluminum hatch, I will
drill the pin holes (I want clevis-type pins for this as they just need to stay in place) and to put in the struts (perhaps gas struts, but I already have friction-knob types and this hatch won't be super-heavy) and latches and insulation to finish the job, because
that I can do. Given that I will need to isolate dissimilar metals with (likely) strips of
EPDM rubber gasketing, which is one of the same materials I will use over the winter to insulate the mild steel inward flange of the pilothouse from its aluminum roof. So I'll need a fair amount, although it need not be thick.
 |
| A closer look: Tony told me to stick to Imperial measurements, which I found ironic coming from a guy in his 30s, but c'est la vie. |
|
Getting rid of the existing framed plywood will cheer me up a great deal and a hatch that lifts forward, unlike my original "clam shell" design (see below) of vertically lifting half-doors, will actually be stronger and will allow better use of the floor when I need to deploy tools, and will have the added benefit of not having to make the lowest companionway step able to lift vertically.
 |
| Hatch plot the first: Elegant, but unnecessarily so. |


