 |
| I need specs to read these specs. |
After extensive mulling over and research, and incentivized by a decent sale price ($400 Canadian and zero freight costs versus $341 U.S. and the shipping of lead was no debate), I've purchased the future house battery bank of the good ship Alchemy.
 |
| It's slightly weird to me that I understand all of this now. |
 |
| Thanks to Jeff Cooper for his van and back muscles. |
Meet 732 pounds (or 332 kilos) of acid-drenched lead. Named Crown 6CRP525s, these are deep-cycle six volt DC (6 VDC) batteries commonly found in off-grid solar powered homesteads and in recreational vehicles, although they are sturdy enough to use in golf carts and other small electrical work vehicles. I decided on flooded lead-acid batteries for ease of servicing; they will not be buried but rather in the middle of the boat. Under the saloon steps, in fact.
 |
| The idea was that a sudden stop would be arrested by the front seats. Hmm. |
With the help of stalwart friend and fellow sailor Jeff Cooper, these ridiculously heavy boxes were obtained in the nearby suburb of Woodbridge and carefully (because the extra weight affected braking) transported to my yacht club. Of course, the rolling carts all had flats yesterday, and it was blazing hot. Nonetheless, with plenty of heave and a touch of ho, Jeff and myself muscled them aboard and into the pilothouse. They are deployed so that they are less likely to impart heel to the boat, nor move around should the weather start the boat to rocking.
 |
| Yes, as a temporary fix, I chopped down the engine bay lid. |
6VDC 525 #1: 6.21 v
6VDC 525 #2: 6.24 v
6VDC 525 #3: 6.32 v
6VDC 525 #4: 6.34 v
6VDC 525 #5: 6.23 v
6VDC 525 #6: 6.34 v
I was told by the battery salesman that three were on hand and the other three needed to be shipped in from the States. I think I know which is which. I will test the specific gravity of the electrolyte and top them up as needed before I give them their first charge, which I want to be sooner than later as we are effectively tied to the dock until I finish this phase of the refit.
 |
| Yeah, I won't miss that nasty carpet stuff. It's all heading for the bin at some point when I move onto "amenities". |
 |
| The same picture as above with my intended changes. |
In the above overlay, the yellow dashed line represents the new bottom of the steps from the pilothouse to the saloon, under which the batteries will live. This location is both on the centerline and very close to the CG of the hull, which means the boat rolls and pitches more or less around the mass of the batteries. This is good for them and good for the boat and is about the best place we could put 732 pounds without actually dropping it a further few inches atop the fuel tanks. The yellow line does impinge slightly on the galley space, but the former lowest tread did as well, without contributing any stowage space.
The red line is 27 inches, or the width of the former treads. In my research, I learned something I have rarely seen implemented, which is securing the batteries in "port and starboard" orientation in order to keep the lead plates covered more effectively in order to increase battery life. It's a touch of an esoteric topic for those not boat-crazed, but the logic is sound: the best way to install the batteries is side-by-side in pairs. Guess what? I can get away with this. With 11/16ths of an inch to spare.
 |
| Sharp, it isn't. Effective, I can live with. |
 |
| Yes, and of course I will clean everything. |
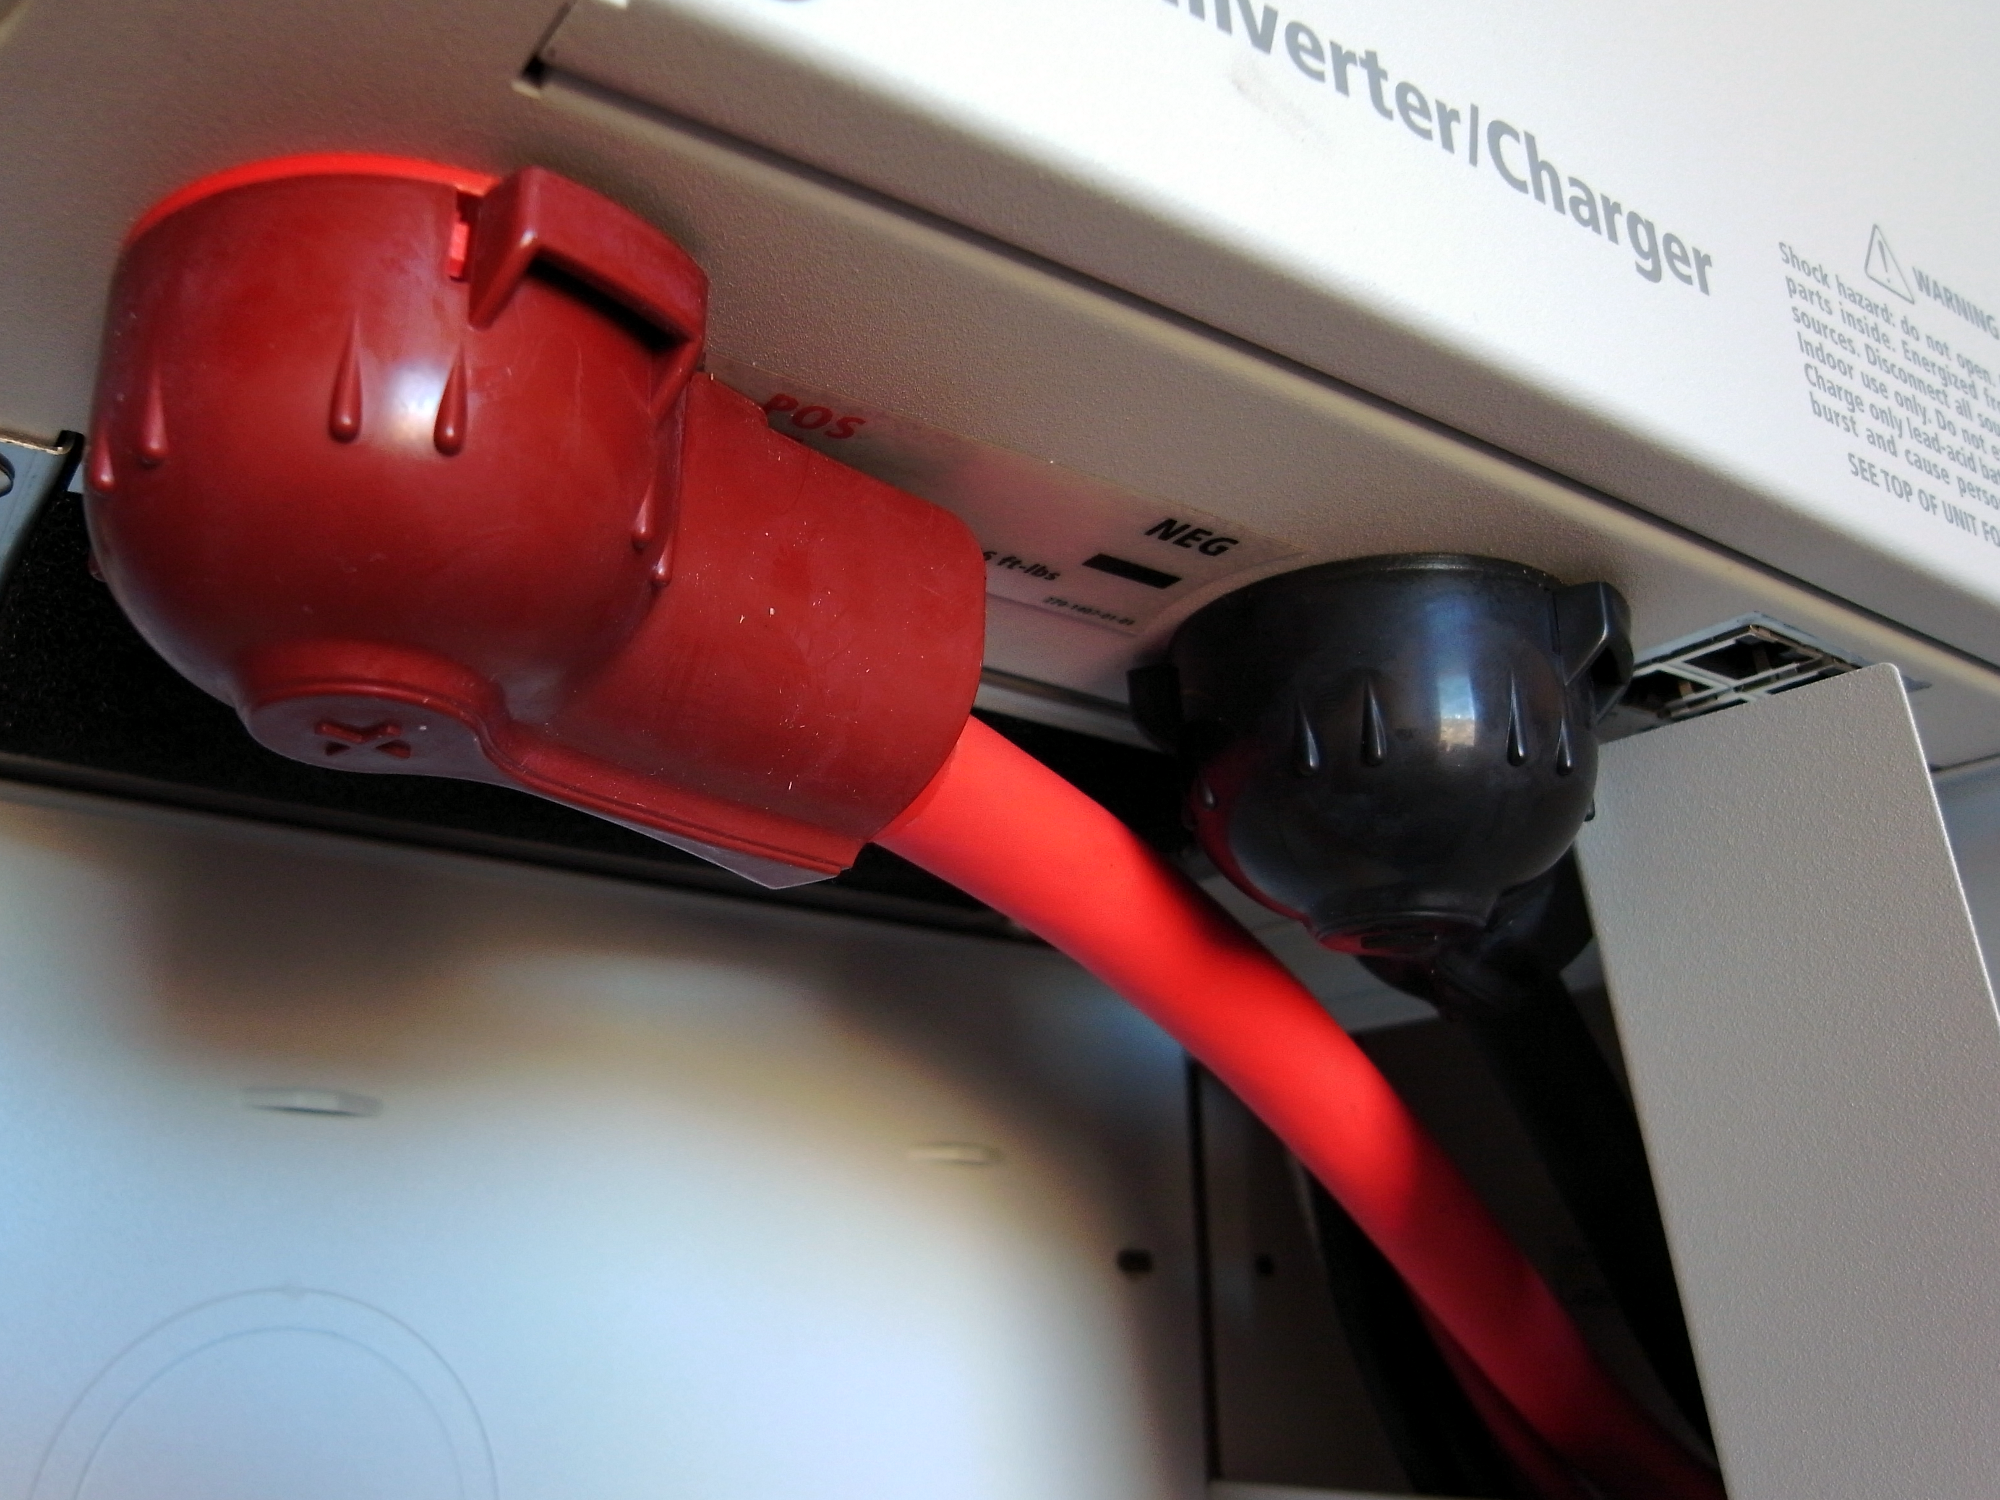
Lastly, over all this, I will have to rebuild and secure properly new and somewhat shallower saloon companionway stairs, the treads of which will need to be hinged to gain access to the tops of the battery bank for service and wiring needs. Where the charger/inverter will go is a topic for the near future.
 |
| The future resembles this. Photo (c) http://www.kbtechworks.com |


9 comments:
Lovely. You'll have more power than my hometown did in 1950. Strap those puppies down. Is the battery cabinet passively ventilated? How will you water the lower tier?
Yeah, but I only want to use 25% of it! The puppies will be strapped...I have to reinforce the floor beneath, too. The cabinet (which is a staircase) will be passively ventilated AND actively ventilated and are outside of the engine bay, which helps. They bank of four will be temperature-monitored.
The tiers (4 lower, 2 upper) will have their tops accessible beneath hinged steps. Watering will be via a watering setup.
More to come. It's a big frickin' project that involves actual construction.
Is your inverter charger ignition protected? Lots of hydrogen and oxygen produced by charging flooded lead acid cells.
You mentioned a watering system for your batteries. Is this the one that we always see at Toronto Boat Show?
What will be your source of battery water when cruising? In Eastern Caribbean de-ionized water is most common and distilled water quite scarce. NAPA Auto outlets want to sell us "battery fluid" in one litre bottles, for a lot of $$!
Whenever I find distilled water, we haul away four one gallon jugs (4 litres).
Our six 6 volt batteries use about 6 litres every three months of continuous operation.
The current watering system will be manual, as is hydrometer and big syringe. The source of battery water will be distilled acquired as needed or made via condensed steam or even a solar still. That's a handy bit of info on real-world usage, Ken/Lynn. Six litres in three months is not only more than I would have thought, but argues for automating the process. How often do you check SG of each battery?
Re: inverter. Yes, it's ignition-protected, but more to the point, it's well above the battery area, which will be positively vented. There's a strong breeze through the boat (and directly past the inverter) when both dorades/saloon hatches and companionway door flap is open, which will be most of the time.
Re: the 4/0 cabling (your comment is reluctant to appear for some reason) is the spec (see page 11 here if you have wireless: http://www.xantrex.com/documents/Discontinued-Products/RS2000_Sine_Wave_Inverter-Charger_Installation_Guide(975-0126-01-01_Rev-A).pdf) for the inverter. I think it's overkill by the numbers, but I have this and the 300 A T-type fusing. The DC cabling is about six feet each way. Haven't decided about the run to the windlass yet, but it's 1500W.
Good questions! I've been busy and have just got the inverter mounted. The box construction, floor reinforcement and then wiring runs follow. I'm making a simple partition to divide the aft, "plumbing" part of the compartment from the batteries...basically a drop board I can remove if I need to get to the top of the aft keel fuel tank. That's the compromise here: in order to get to that, I have to move six batteries. Good thing my back's OK.
Re battery watering, if automatic you might run out of distilled water in the systems reservoir and not know it. I check fluid levels and gravity every two months, but with a Xantrex E-metre, we can see footage when solar is working, and the startup voltage first thing in the morning after 9-10 hours of darkness. We also monitor amp hours spent and so really measure the electrolyte sg every two or three months before equalizing.
While your byyingb300 fuses, consider fusing the starting motor of your diesel within +7 inches of the starter battery. A locked starter rotor will melt down everything and set fire to your engine and battery compartments.
Watch your back! Injuries away from home are cruise killers.
Yes, that's a consideration about the auto-watering. Probably it's easier just to automate (via an Excel date alarm or a scribble in the logbook) the inspection part. I have a Bogart Pentatronic that I expect will do this, plus the inverter's display module. Keeping Ah "spent", however, is a good suggestion, because it really makes the energy hogs evident, as well as confirming your amp budget estimations.
The diesel is fused within seven inches and has been since installed (http://3.bp.blogspot.com/-2VgUD-MAOpk/VC3XnER8qsI/AAAAAAAACG8/qL4FdyU1wpk/s1600/DSCN1704.JPG). I've got a handle on the inrush amps, too. Nothing gets remotely warm: I used 2/0 ga. for these runs.
As for my back, message received. The batteries are being moved with the same chain fall I used for the entire engine. I just push them to the sill. I need them to land lightly...and snugly.
Off to buy FG tape and epoxy tomorrow at Noah's. Also, some silicon bronze screws at Pacific Fastener. If I lived on Islington, I'd get no exercise at all!
Post a Comment